So for this you will need the usual stock of supplies. You will need some bass wood or plasticard, some glue, a measurment too for your base ( for small bases a nickle, medium: a small base, large a large base), exacto blade, pen and of course glue.


Now we are going to cut along the grain of the bass wood. Just cut the circle into strips as shown below. This will be the main basis of the wood planking.

Hu, pretty easy. So now we decide where we wan to have the boards end. So pick one or two boards and cut them, like so;

Ok now we are going to assemble the planking. Its pretty easy. Start at one side and glue each plank on individually. It will look like the below picture. Make sure you leave a little bit of room between the each board as you put it on the base.

So the only problem I sometimes have is finishing the planking. You may have to trim down the last plank to make it fit. That is just because there was a little space in between each of the boards. so now you should have a wood planked base!


And volia! I have a wood planked base for my scary Nomad to sit on!
Bonus Track!
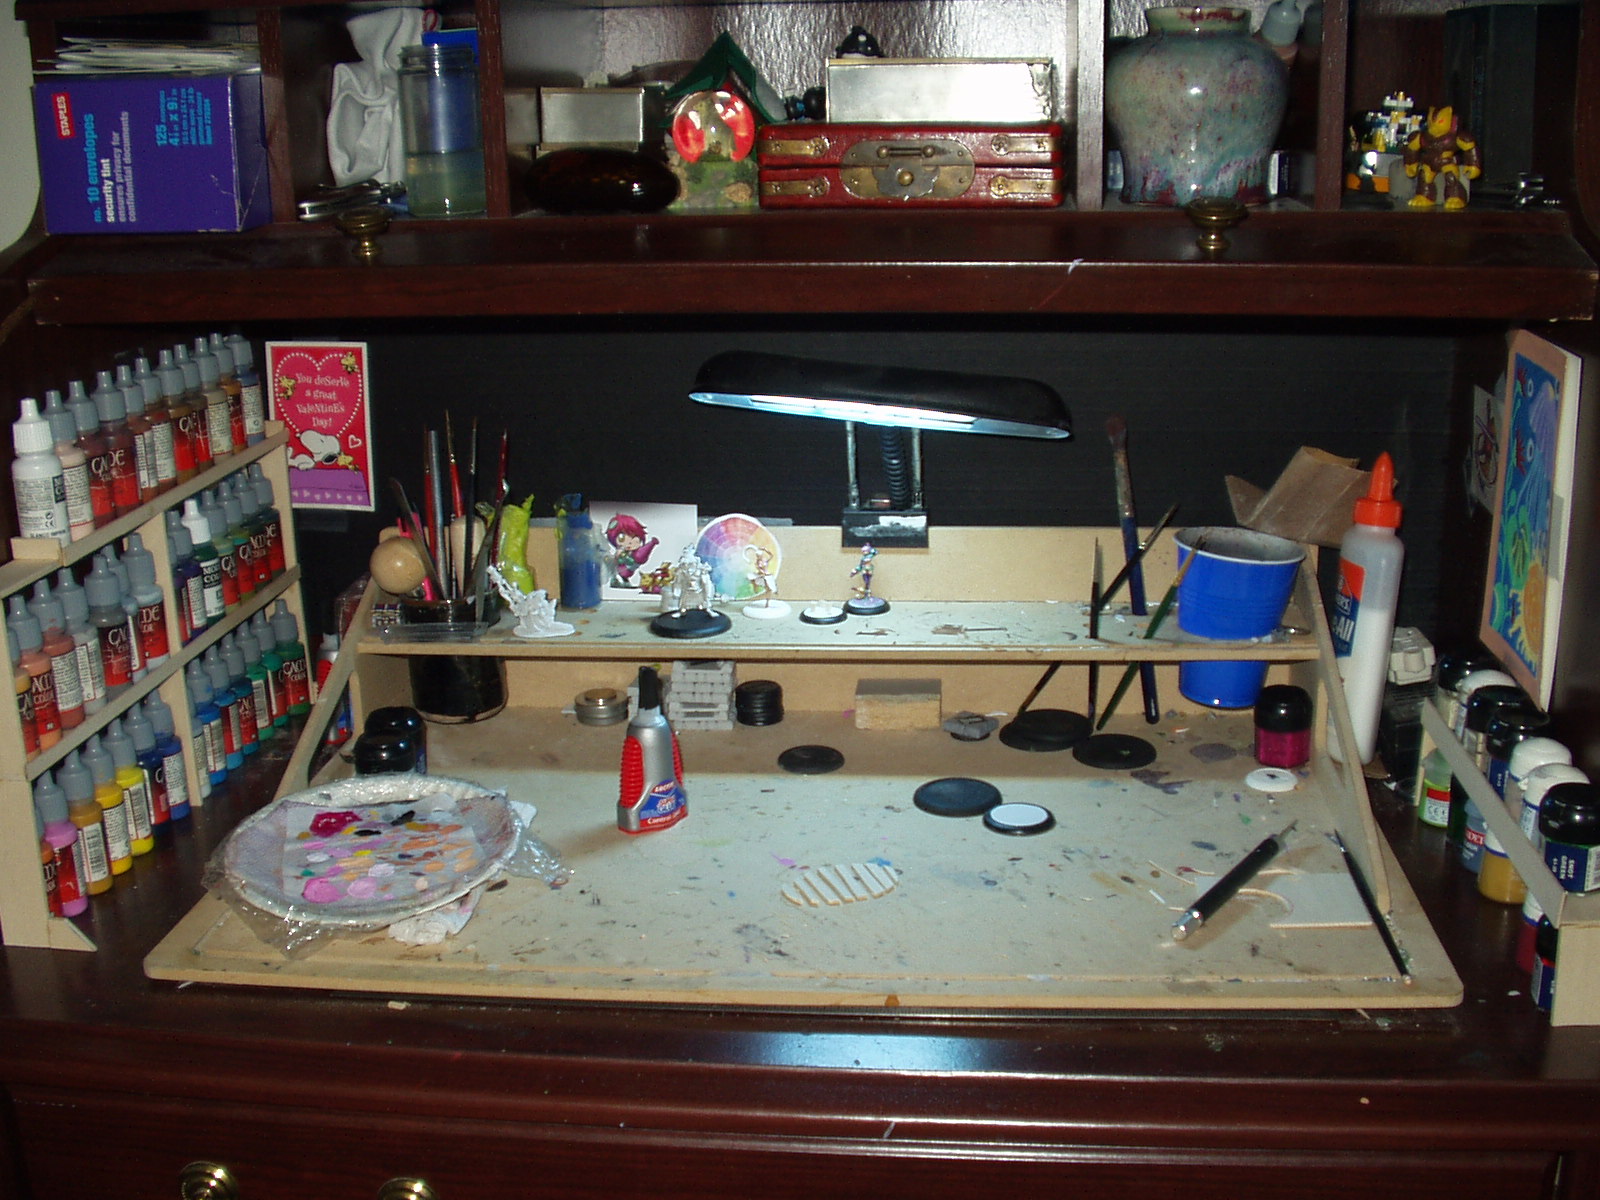
So I play Heroclix, a lot. Recently they came out with Street Fighter Heroclix. I was very happy. I went out and bought a brick. I must say I was not disappointed. Intraset these guys are great representatives for the game. They even come with tiny maps illustrating street fighter levels so you can do the one on one fighting. This method of fighting seems pretty solid, you make your team and fight one on one until all are eliminated.
Of course there is always the Heroclix paint jobs. I can't stand them. Sure a few are ok, tabletop quality maybe. So I did something i NEVER do, i repainted Heroclix. I mean, the sculpts and clear effects are so cool! I present to you, Cammy and Vega;


So until next time, if there is a next time (ya there will be, you just need patience).
Keep pirating those golds!
-Steve